|
|
'92 Celica GT, 3SGTE Rebuild and Swap It seems all too often that we hear disaster stories of cars being dropped off at a shop for an engine swap, the shop keeping it for a year or two, breaking things, and the swap never gets completed. In fact, for some reason it seems that I always end up with these cars at my shop! Such was the case with Keith's '92 Celica GT, my interaction with which I affectionately refer to as "Dr Tweak and the Celica of Doom". The story begins sometime in 2004, when Keith decided to take his Celica up a few notches in the performance area by swapping in a 2.0 liter turbo engine from the Celica GT4, the 3SGTE. At the same time he planned on converting it from automatic to manual. To make a rather long story short, the engine was bad, then rebuilt by one shop who did a terrible job, brought to another shop for the swap to be done where it sat for about a year with nothing getting done, and finally, landed at my shop. I personally picked up this Celica and towed it to my shop
 Then I started sorting out the mess before me. Tons of parts that Keith had purchased previously had somehow "disappeared" during the car's previous adventure, and the quality of the work that had been done one it was terrible. This speaker wire was being used as the main power feed to the injectors, among other things. I completed the auto/manual conversion while we waited for some parts to come in.
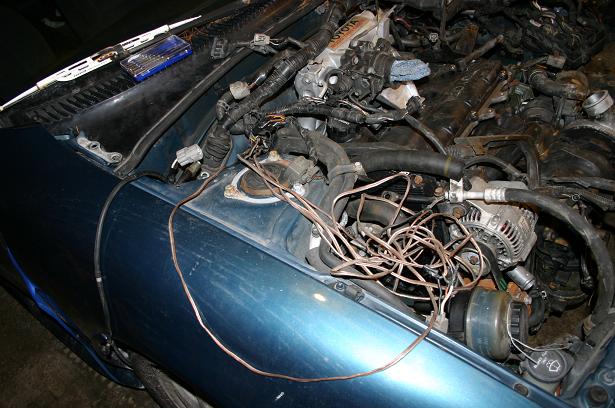 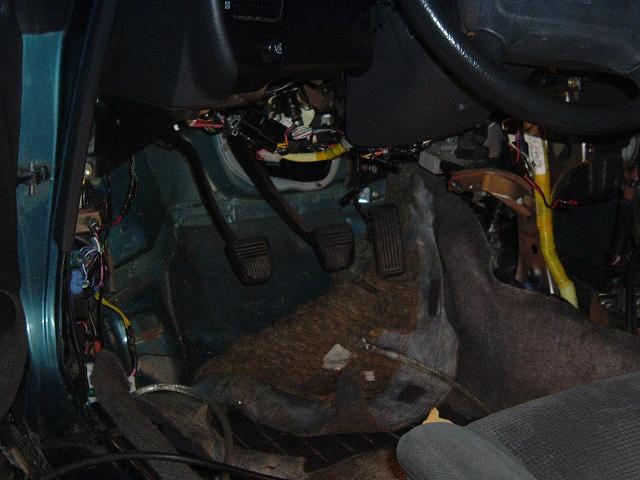 I rewired the engine harness to work correctly in the car, and replaced poorly made connections that were in place.
Finally, after fixing all the wiring and installing all the needed parts on the engine, along with some new ignition parts, AND getting a new computer since we had the wrong one, I got the engine started. The good news was very temporary though. It turns out that the seals at the front and rear of the engine were leaking oil, even though they supposedly replaced when the engine was rebuilt! Then I found another problem: coolant in the oil. This was the beginning of my discovery of how badly this engine had been rebuilt. Not only that, but after tearing it down I found that the timing belt was never tensioned properly, and had started to jump teeth (thankfully it's a non-interference engine), it just went on and on!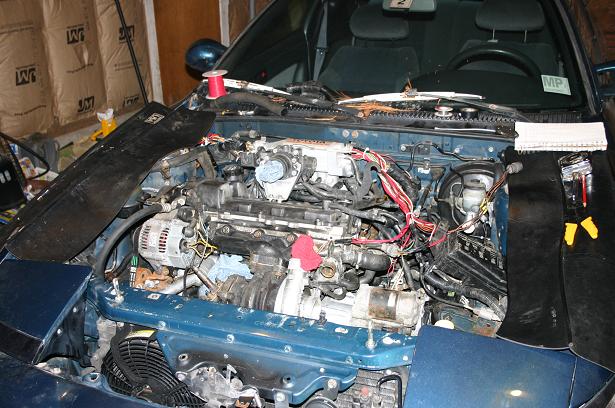 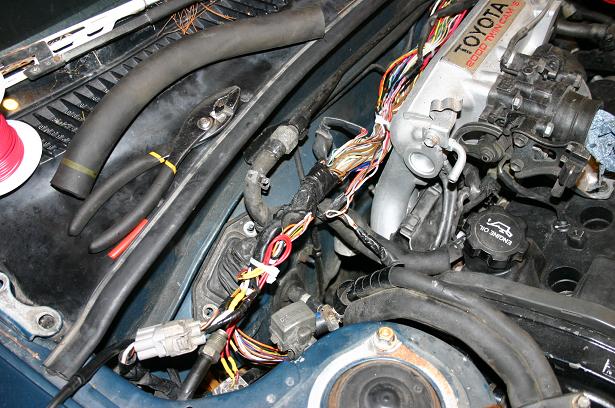 The engine is torn down for a reseal and head gasket. I didn't yet know it, but I will have to repeat this process after discovering that the entire shortblock needs to be rebuilt. 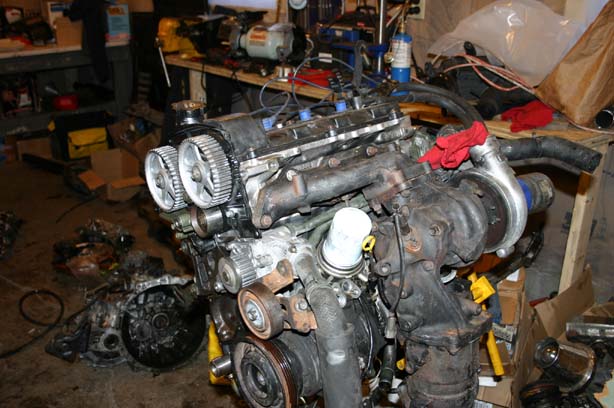 I cleaned up the block and head and installed a new head gasket and all new seals.
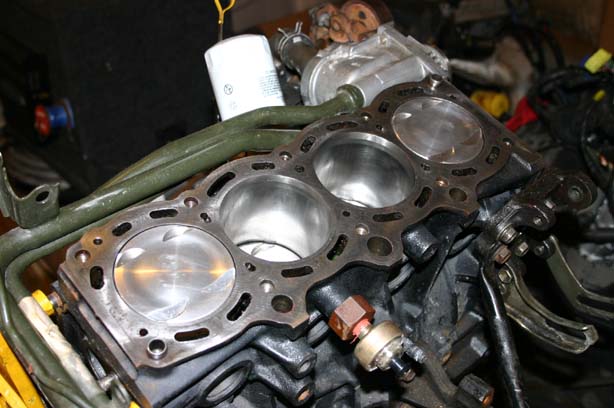 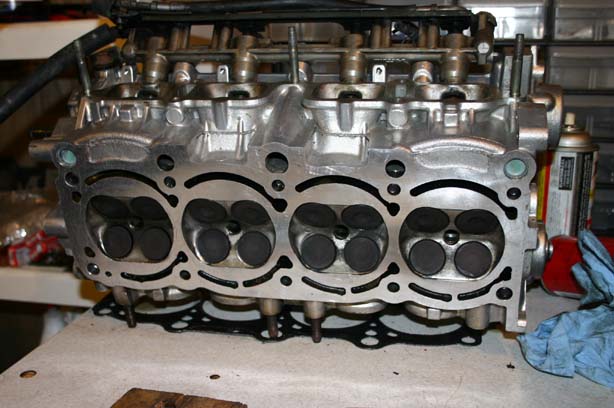 Then I installed the engine for the second time, and got it running again. I ran into a new problem now though... after being able to run the engine for some time, I discovered that it was only running on two cylinders. It turns out that the number 1 and number 4 cylinders had extremely low compression. I would soon find out that the number 4 piston had been damaged and all the rings needed to be replaced... along with something else: the engine block had been bored, but not honed, at least not correctly! The rings never had a way to seat. Out comes the engine again for a total rebuild. The engine is removed again for a total tear-down.
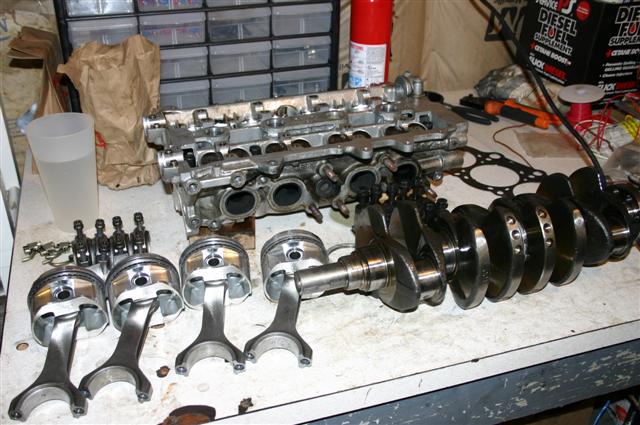 The next part of the story is that we needed a new block in order to bore it again and get the right cylinder size. Finding a block wasn't hard, until the person refused to send it to me after I paid for it. It took nearly 6 weeks and beginning to pursue legal action before we finally got it in. Off it went to the machine shop, along with the head, to be prepped for assembly. We got everything back, and had ordered a new set of rings and a new piston for the #4 cylinder. Here's a look at the assembly process. 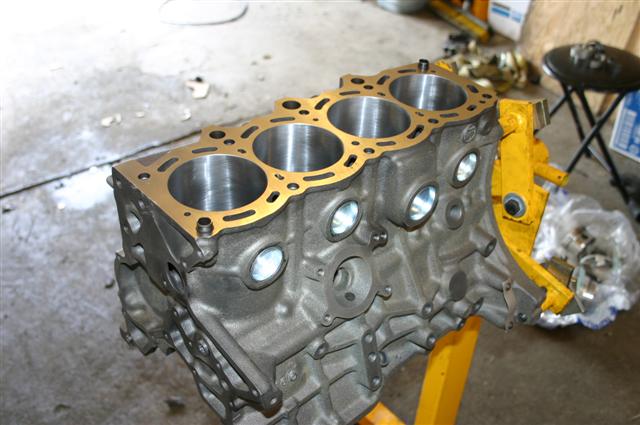  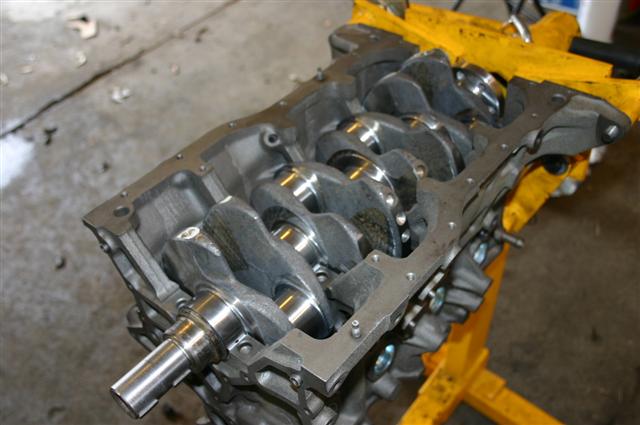 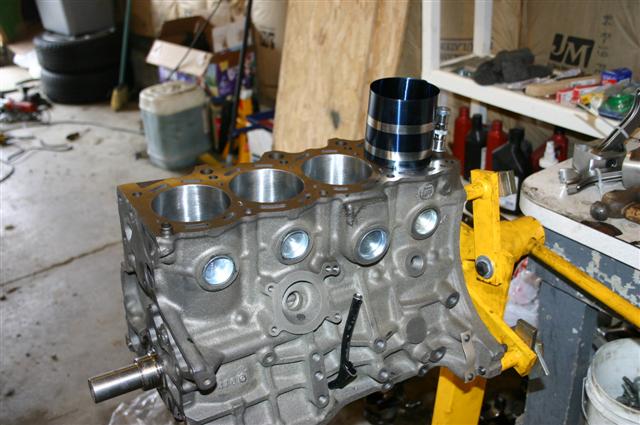 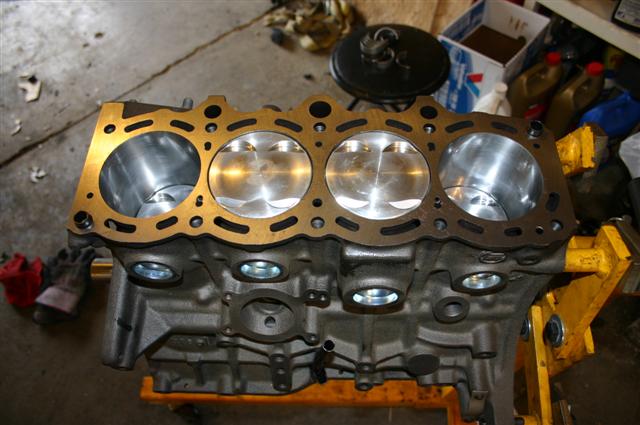 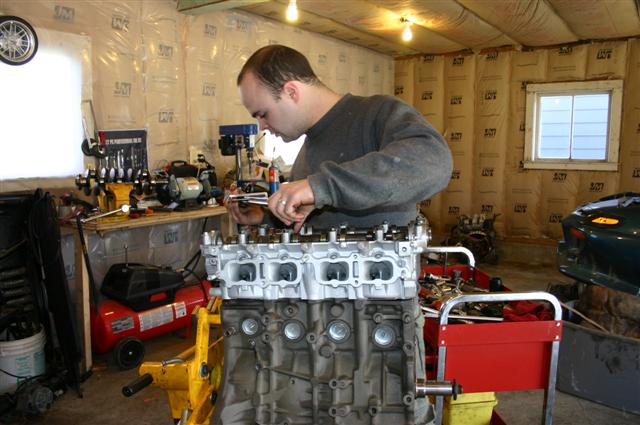 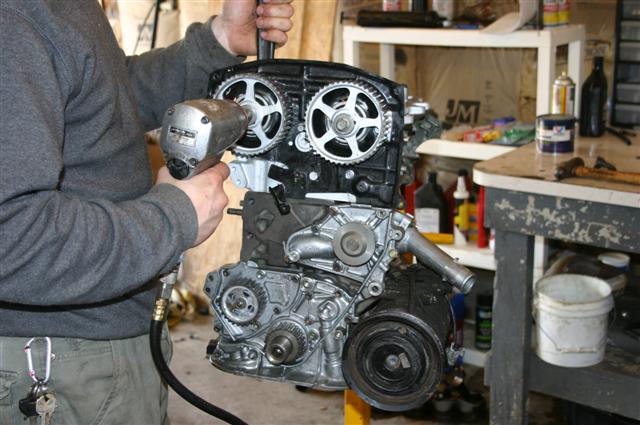 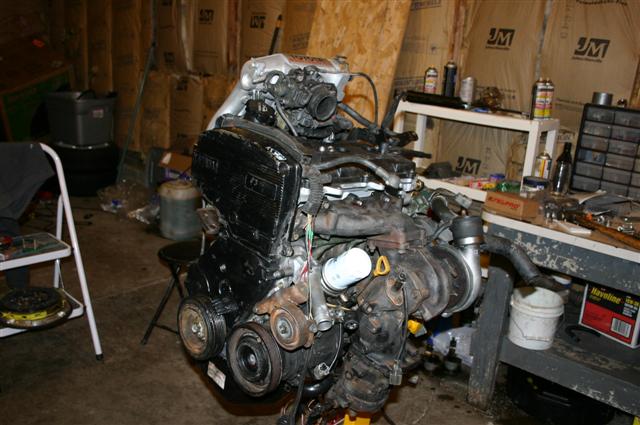 And the engine build is completed. Sadly, I didn't have a camera available to detail in reinstallation, but on 4-24-06 the car was retuned to the owner, all put together, and finally, running great. After hearing this story, one board member replied: "You need a reality show where they follow you around the world saving Celicas from the clutches of evil-doers." Sounds like fun to me :-D |
| © Copyright 2006 Phoenix Tuning - Contact | |